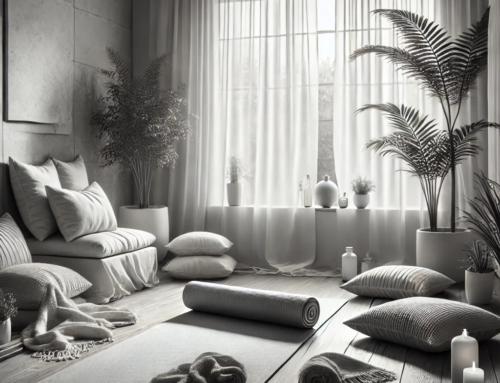
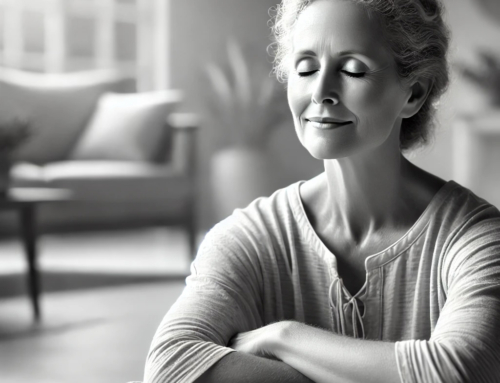
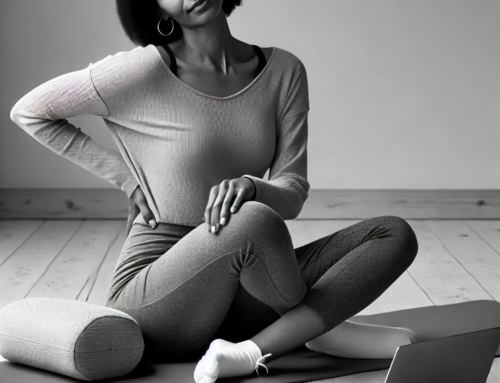
You don’t need yoga props to practice these poses! Simply use large blankets and pillows that you already have. Take a look at the photos below that correspond with each pose, and find things around the house that you can use. Wear comfortable clothes and be sure to take your time to set up each pose properly so you are comfortable and can relax to receive the maximum benefit.
Opening the hips can not only relieve back pain but can also help with joint mobility, proper structure, alignment and blood flow.
Immobility and tightness in the joints, especially the hips, creates restriction and pain, which can significantly affect your daily life. Simple motions like walking around the block on a beautiful day, standing in line in the grocery store, sitting in the car or sitting at work can become excruciating or extremely painful if the hip joints are tight, restricted and out of alignment.
Joints work together with muscles, ligaments and tendons for movement. That’s why it’s important to not only keep the joints soft and open, but to keep the muscles, ligaments and tendons relaxed for maximum mobility without pain. Open and stretched hip joints and muscles are extremely important, especially if you sit all day. Sitting too much causes a shortening of the hip flexors and glutes (large thigh muscles) which pull on the lumbar spine (low back), creating less stability, decreased blood flow, stiffness and aches in the low back region. Flexible hips, along with a strong core, ease tightness in the lumbar spine, diminish sciatic nerve pain, lessen numbness and tingling in the feet, reduce stress on the knee joints and encourage proper alignment and structure. Relaxed muscles and joints equal less pain, period.
Keep in mind that we rely on the hips for a lot, which is why it is important to keep the joints and surrounding muscles, tendons and ligaments mobile and soft through a regular therapeutic yoga practice. Gentle stretching from these poses also encourages the release of synovial fluid, which lubricates the joints, creating more space and blood flow in those areas.
These therapeutic yoga poses, along with deep breathing, will promote relaxation. Relaxation encourages a soft, gentle and deep opening in the hip joints, muscles, ligaments, tendons and surrounding connective tissue and fascia. This gentle opening also reduces accumulated stress, tension and stagnation deep within the cells of the body.
1. Reclined Butterfly
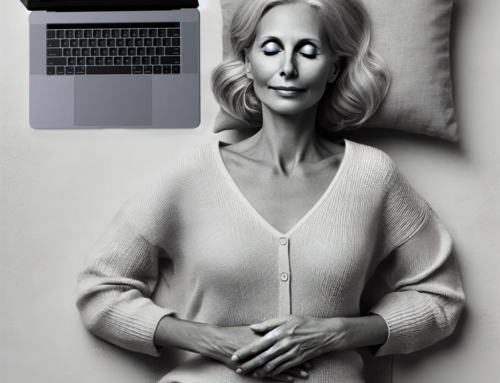
- Lie flat on the back with a support (pillow or blanket) under the head.
- Bring the soles of the feet together, while the knees open out. Use rolled up blankets, towels or pillows on the sides of the knees to support the legs.
- Hands on belly or arms out to the side.
- Close the eyes and begin to lengthen the breath. Imagine the breath can reach all the way down to the front of the hips as you inhale and empty out from that space as you exhale, clearing out any stagnation and holding in the hips, hip flexors and the bowl of the pelvis.
- Breathe 10 to 15 minutes.
- Straighten the legs at any time or use more support on the side of the legs if there is too much intensity.
- To release, straighten legs and softly flop the feet side-to-side, getting the rotation all the way up to the thighs. Bend legs, bringing feet flat on earth and flop knees side-to-side to release the pose. Hug knees into chest, then roll onto one side for a few more deep breaths.
2. Supported Child’s Pose
- Start on hands and knees.
- Gently stretch first with a few rounds of cat and cow pose, following the rhythm of your breath. Inhale, drop belly as you arch the back and gaze up (cow pose). Exhale, round the spine, drop the head and gaze at the belly button (cat pose).
- With a neutral spine, place a bolster, rolled up large blankets or stacked pillows under the torso. Open the knees out to the edges of the support, draw the big toes together and sink the hips back to the heels as you draw the support between the knees and lay the chest down. Be sure the chest is level with the hips. Stack up as many blankets and pillows as you need to do so.
- Turn the head to one side for 3 to 4 minutes, then turn head to the other side for another 3 to 4 minutes.
- Close eyes, soften the belly and imagine the in-breath floating all the way down the spine and the back of the hips. Exhale out any tension or holding.
- To release the pose, come back to table pose and stretch one leg back at a time, opening up the back of the leg, releasing compression.
3. Supported Twist
- Start seated with the support behind you. Bend the knees and open the feet wider than hip width. Inhale, and as you exhale, drop the knees to one side. For a gentler stretch, stack knees on top of each other with a blanket between knees and ankles. For a more intense stretch, scissor knees as shown in photo.
- Continue to turn the torso so you are facing the support with hands on each side of the support.
- Use an inhale to lengthen the spine, and as you exhale, rest the belly and chest on the support. Head faces same direction as knees.
- For a more intense twist in the neck, turn and face away from the knees. If at any time this becomes too intense for the neck, simply turn the head back to the same direction as the knees.
- Imagine the breath cascading down the spine to the sides of hips and low back space as you breathe in.
- Exhale from deep within the side of the hips, relieving any remaining stress or tension. Let the torso melt into the support.
- To release, use the hands to press up to seated, turn to face away from the support and continue to turn, bringing the opposite hip to the support. Inhale and lengthen. Exhale, fold and rest torso, chest and head down.
- Breathe 8 to 12 minutes on each side.
4. Final Resting Pose
- Lay flat on the back with a pillow or blanket under the head. Place a bolster, rolled up large blanket or pillow under the backs of the knees, then gather the knees into the chest. Gently rock from side to side or circle the knees in the same direction. Hug in right knee as you lengthen left leg, or bend the leg with foot flat on the earth for a gentler stretch. Breathe for 6-8 breaths. Hug left knee in and lengthen or bend right leg. Breathe 6-8 breaths. Hug both knees in for 5-6 breaths in stillness, then release and lengthen both legs over support.
- For tighter hamstrings or compression in the low back, draw the support closer to the buttocks.
- Ground the feet and gently lift the hips an inch or so off the earth and lengthen the low back by drawing the tailbone down to the feet, taking the arch out of the back, creating more space in the spine. Let the back naturally rest on the earth without any holding.
- Hands rest on belly or arms rest by your sides.
- Continue with deep breath into the hip space or let the awareness wander, coming into a natural breath.
- Breathe 10 to 15 minutes and restore.
Incorporate these four poses into your regular home practice and feel the difference in your hips and low back.
You will see the most benefit with a regular practice. Open the hips, relieve stiffness, stress and aches in a therapeutic way because you deserve to feel better one breath at a time.


